How to
Connect Easy Eatery to Mailchimp
You can integrate Mailchimp with Easy Eatery to automatically add new subscriber signups to your Mailchimp audience. This allows you to grow your mailing list directly from your website forms.
What you'll need
- A Mailchimp account
- An active audience in Mailchimp
- Your Mailchimp API key
Step 1: Get your Mailchimp API key
To connect Easy Eatery with Mailchimp, you’ll need an API key from your Mailchimp account. This key allows Easy Eatery to securely send new subscriber data to your selected audience.
Follow these steps:
- Log in to your Mailchimp account.
- Click your profile icon in the top right corner and select Account & billing from the menu.
- In the account settings menu, go to Extras > API keys.
- If you haven’t created an API key before, click Create a new key.
- There should be a button labelled 'Create A Key' to do this.
- Follow the instructions on screen once you click this.
- Your new key will then appear in the list.
- Copy the full API key listed under Your API keys.
Keep this key handy — you’ll need it in the next step to connect Easy Eatery.
Be careful not to share this key publicly as it grants access to your Mailchimp account.
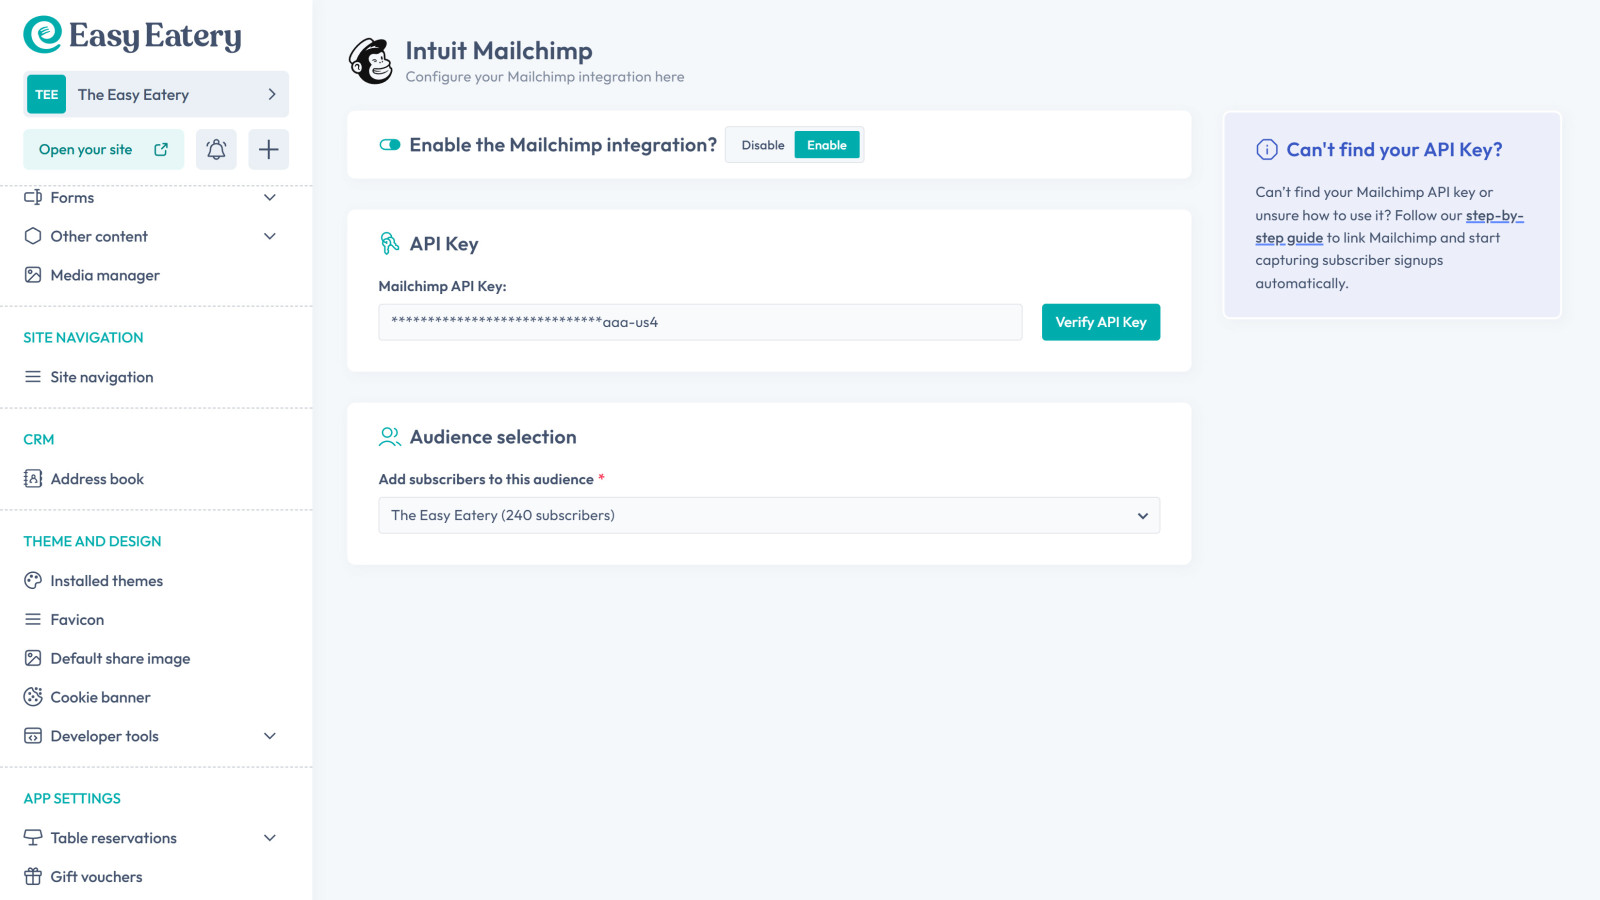
Step 2: Add your API key to Easy Eatery
- Go to Third-party integrations in your Easy Eatery dashboard
- Find Intuit Mailchimp and click Modify
- On the integration page, paste your Mailchimp API key into the field provided
- Click Verify API Key
- Once the page refreshes, use the drop-down menu within Audience selection to choose which audience you want to add new subscribers to
- Save your changes at the bottom
Step 3: Add a newsletter opt-in to your form
To collect consent from your customers, you’ll need to add a newsletter sign-up checkbox to your form:
- Go to the Form manager in your dashboard
- Find the form you want to update and click its title (or the Edit button)
- Add the Newsletter sign-up field to your form
- On desktop, this will be in the Available form fields sidebar, near the bottom.
- If you're on mobile, click Add a new field... and then select the field from the list by clicking the orange plus button next to it.
- You can edit the label of the checkbox (e.g. “I’d like to receive updates and offers”)
- Click Save changes to update the form
Customers who check this box when submitting this form will be added to your Mailchimp audience automatically.
